
Video compositing with Natron
|
Clips
To install Natron, click Download on the right-hand side of the homepage [1]. On the subsequent page, below the penguin icon, you will find a first link for Natron for 32-bit systems. The second link is for 64-bit Linux systems.
In both cases, you will get a tar archive, which you can unzip to your hard drive (note that this file is not packed with Gzip). Click on the unzipped program to run it, and an install wizard should appear and ask you some questions.
After clicking Next , enter the desired installation directory for Natron. If you are unsure of how to do this, you can also accept the defaults. In the Next step, select the components to install (Figure 1). You will at least need the Natron program itself, the Natron/OFX Core Libraries , and the OFX IO Plugins .
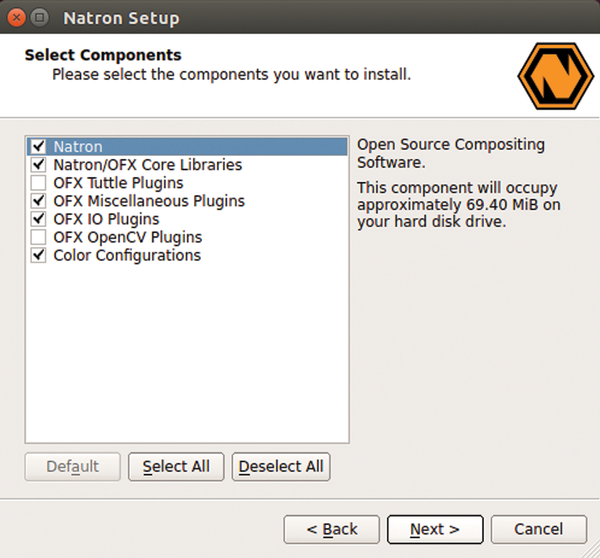 Figure 1: The installation wizard installs the effects you want.
The remaining options provide additional plugins and packages with effects. If you are using Natron for the first time, then you should use the default settings. By doing this, you will not be stuck with an unmanageably large amount of effects.
After clicking Next , the install wizard will display the software licenses of all the components used by Natron. Select I accept the license agreement , click Next , and let Natron Install . Within some desktop environments, such as Unity in Ubuntu, the install wizard will automatically create an entry in the Start menu. If this is not the case for you, can always run the script Natron in the installation directory from now on.
Area Management
After starting, the main window (shown in Figure 2) will appear. The window is divided into three areas by default (preview is in the upper left). The gray shows the finished scenes that will be visible later. This feature will be useful when you enlarge your video clips or create a scene out of multiple video clips.
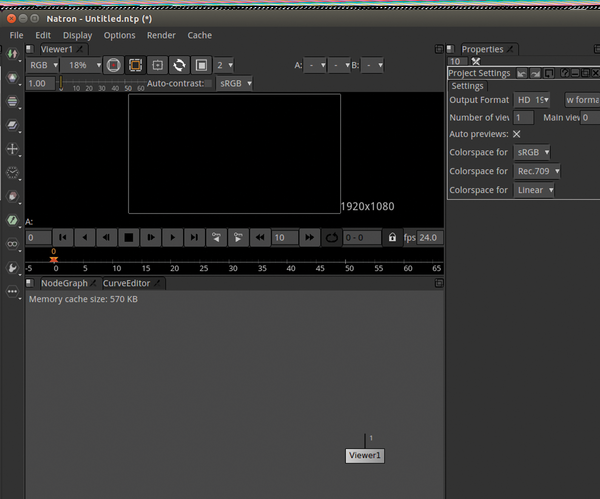 Figure 2: The main window of Natron looks tidy only right after the start. As with all video editing programs, your monitor can never be big enough.
Imagery outside of the gray rectangle will not be visible later. You can put effects together in the bottom left. Additionally, the settings of the effects are listed on the right side of the Natron interface. At this point, the settings of the project should be left at their default values.
You can adjust the three areas of the main window to suit your needs. You can adjust their size by grabbing and dragging the dividing lines with the mouse within these windows. Because of the gray tones, the dividing lines can be difficult to see. However, when the mouse pointer crosses a line, the pointer turns into a double arrow and that helps.
Take a look at the lower left pane; you should see two tabs. You should be on the NodeGraph tab. Natron's drawing surface is displayed here. Every effect and every video snippet appears as a small box (which Natron calls nodes ) on the display.
When you start out, you will see a rectangle with the words Viewer1 . This rectangle represents the preview monitor. This node has a connector pointing upwards. Because it is not currently connected to anything else, you will not see an image in the preview.
Buy this article as PDF
Pages: 6
(incl. VAT)
Buy Ubuntu User
US / Canada
UK / Australia
Related content
-
Video effects and compositing with Natron

Elaborate video compositing, blue screen tricks, and other complex video effects normally only appear in high-priced programs like Adobe After Effects, Nuke, or Fusion. Natron is open source, free, and gives high-priced alternatives a run for their money.