Adding new functions to the Atom text editor

Slashdot it! Delicious Share on Facebook Tweet! Digg!
Elena Elisseeva, 123RF

Elena Elisseeva, 123RF

Easy Does It

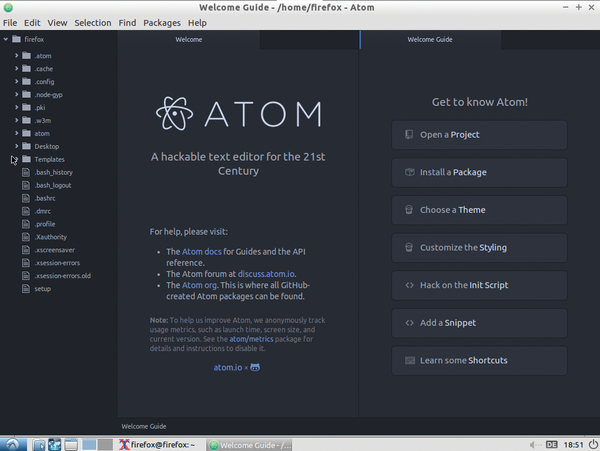
GitHub advertises the Atom text editor as a combination of the best features from vi, Emacs, Sublime, and Textmate with none of the inconveniences. GitHub hopes to attract new users with an editor that is nicely integrated with its own VCS.

Many developers were rather incredulous when GitHub announced Atom [1] in June of 2014. They were asking whether the world really needed yet another editor. The GitHub makers believed that the answer to this question was a definite yes. Although Sublime Text [2] and Textmate [3] are convenient to use, the programs don't leave much room for modification.

Emacs and Vi let the user make many modifications, but they are not so convenient for the beginner. Although not expressly mentioned by the makers, the Atom text editor also has the potential for bringing new users to GitHub, thanks to the good integration with GitHub.

The GitHub makers are acutely aware of how the open source world works. Up to now, they have not taken a wrong turn. Atom has become part of this successful track record. The Vi and Emacs projects work well primarily because they are open source and have a large community. The makers have let it be known that they are in it for the long run with the Atom text editor, which has an MIT license. This does not mean that GitHub won't fork the text editor at some point in order to offer an enterprise version; however, this was not yet the case with Version 1.0, which appeared in June of 2015.

The Atom Model

The Atom text editor is intended to enable the development of cross-platform desktop and web applications. The software includes grammars for various programming languages ranging from JavaScript, Perl, and Python to C/C++ and Java. In effect, this software is a specialized version of the Chromium browser. The windows are essentially web pages that have been locally rendered. The content displayed in the windows is allowed to access the Node.js API.

The editor consists of a straightforward core, called the Atom Core. Most of the other components are available as packages administered by the integrated Atom Package Manager (APM). The core and the packages run in an environment that goes by the name of Electron [4], formerly called Atom Shell. This environment takes care of automatic updates, has a Windows installer, prepares crash reports, and also delivers notifications. These functions are accessible via Javascript APIs.

In the interest of simplicity, developers recommend using CoffeeScript and Less as replacements for JavaScript and CSS, respectively, when working with Atom. However, it is also possible to use JavaScript and CSS to expand the editor.

Control Panel

After installation, which could have been made more straightforward (see the "Installing Atom" box), you will land on a graphical interface (Figure 1). The interface consists of various areas, which are designated as panes. These can be enlarged and minimized or rearranged as desired. In Atom jargon, the individual file that is currently being edited is referred to as a Buffer.

Installing Atom

During the test on Ubuntu 14.04 with an LXDE desktop, installation required a little effort. This is primarily due to the Node.js environment that Atom needs. Installation packages do exist. For users who want to compile the software by themselves, it will be necessary to install suitable files (Listing 1, line 1). The next step is to get the most recent version of Node.js from Nodesource.com [6] (line 2).

Basically, the series of commands in Listing 1 pulls in a setup script for the current version of Node and executes it with root rights. The more cautious users add a more command after the pipe symbol for taking a quick look at the script before execution. After the script has run, the command from line 3 will install the most current version of the Framework.

If the which node command does not display a result, then this is probably because the binary is called nodejs but the Atom text editor is looking for /usr/bin/node . The command from line 4 corrects this problem. The next series of commands clones the Atom repository on GitHub and then checks out the last release of Atom in the atom directory. (Listing 1, lines 5 to 8).

Lastly, the routine will execute the build script and then start the JavaScript task runner Grunt [7] for installing the executable atom file and the apm package manager to /usr/local/bin . This process requires that you have root rights. You can generate a Debian package via script/grunt mkdeb if necessary.

Listing 1

Installing Atom Editor

$ sudo apt-get install build-essential git libgnome-keyring-dev fakeroot gconf-service libnss3
$ curl -sL https://deb.nodesource.com/setup | sudo bash -
$ sudo apt-get install -y nodejs
$ sudo update-alternatives --install /usr/bin/node node /usr/bin/nodejs 10
$ git clone https://github.com/atom/atom
$ cd atom
$ git fetch -p
$ git checkout $(git describe --tags `git rev-list --tags --max-count=1`)
Figure 1: The Atom editor consists of various areas that allow for flexible arrangements. These areas are known as panes.

You will see the directory tree for the current project in the left area of the main window. The code is in the large field in the middle. The F11 key gets you into full-screen mode. Atom opens the settings options as an additional tab once you call them either by pressing the Ctrl+, keys or via Edit | Preferences .

If you are not sure what to do next, you can look at the list of all commands found in the editor by pressing the Ctrl+Shift+P keys. A helpful Flight Manual [5] is available online, but only in English.

Buy this article as PDF

Express-Checkout as PDF

Pages: 4

Price $0.99
(incl. VAT)

Buy Ubuntu User

SINGLE ISSUES
 
SUBSCRIPTIONS
 
TABLET & SMARTPHONE APPS
Get it on Google Play

US / Canada

Get it on Google Play

UK / Australia

Related content