
Put together your own distribution with PCLinuxOS
|
Supplementary Software
The MiniMe version of PCLinuxOS has few sizable applications. All of the larger programs like Gimp, LibreOffice, Firefox, and Thunderbird are lacking. Even surfing the Internet has to be done with Konqueror. Nonetheless, the Synaptic package manager lists just under 14,000 packages. You can select, modify, and install packages from this list as desired.
So-called installation managers are a unique feature of PCLinuxOS. The managers serve to simplify the process of downloading and installing certain software packages. The managers are actually scripts that take care of the work of searching for various packages when installing larger applications.
For example, LibreOffice and the ebook administrator Calibre can be integrated into the operating system with the help of an installation manager. The localization manager in turn simplifies the process of dealing with multiple language systems. For LibreOffice, it is necessary to also install the lomanager package from Synaptic. For Calibre, you will need the calibre-manager . These corresponding managers are found in the Software Center submenu.
A click on the manager downloads the assistant for the current version from the Internet and installs it. LibreOffice offers the option of selecting a language. The installation manager remains in theSoftware Center menu after successful integration of the program, and can later be used via a few clicks to update or de-install the corresponding program (Figure 5).
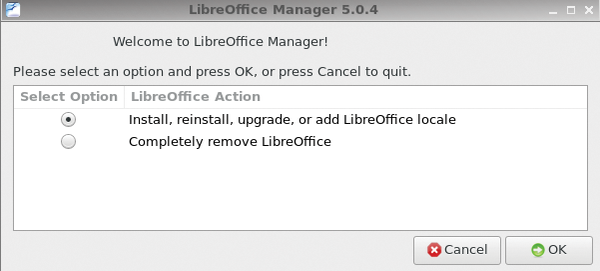 Figure 5: Programs such as LibreOffice and Calibre are administered by an installation manager.
Generating an Image
After installing all the desired apps and completing the configuration work, the system can be converted to an ISO image and then used for other installations. PCLinuxOS uses the command-line tool mylivecd to do this.
The MiniMe version comes with the tool included. It is a good idea to install the graphics front end mylivegtk from the package sources to make this work easier and to avoid having to learn about the required parameters.
The front end is located in the submenu Archiving under the entry MyLiveGTK . At first, it may look somewhat complicated, but because the most important settings are made automatically, the ISO image can be generated with one click on the Execute button to the lower left in the program window. Clicking on the ISO Options button opens a dialog for adding personal information to the ISO image (Figure 6).
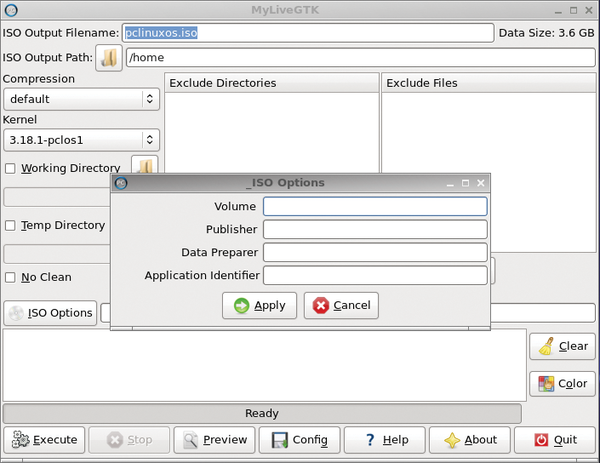 Figure 6: Although seemingly complicated, the image generator is actually simple and functional.
One click on the Execute button and the program will generate the image and at the same time provide progress reports at the bottom of the program window. Note that writing the ISO image requires considerable computing work and also significant compute time even on up-to-date, high-performance machines with multicore processors.
The process can take several hours on older, single-core machines depending on the size of the software packages that have been added. After the process is complete, you can transfer the image as usual onto an optical data storage device and then install the preconfigured system from there onto other machines.
« Previous 1 2 3 4 Next »
Buy this article as PDF
Pages: 4
(incl. VAT)
Buy Ubuntu User
US / Canada
UK / Australia
Related content
-
Installing multiple operating systems on a USB storage device

Flash chips are now used as storage devices for operating systems. MultiSystem lets you pack as many operating systems as you want on a USB stick.
-
Encrypting flash drives with UsbCryptFormat

USB sticks and external hard drives can easily be lost or stolen. You should therefore protect these storage media against loss and misuse. UsbCryptFormat lets you do this without much effort.
-
Use multiple distributions at the same time with Bedrock Linux

Bedrock transparently combines virtually any number of distributions with different architectures, package management, and init systems under a filesystem.
-
Installing Ubuntu 13.10

Ubuntu 13.10 offers some changes to the installation process. We'll walk you through upgrading or installing the latest release.
-
Installing Ubuntu 13.10

Ubuntu 13.10 offers some changes to the installation process. We'll walk you through upgrading or installing the latest release.