… and Action!
Screencasts are ideal for online presentations and demonstrating a particular desktop function. With SimpleScreenRecorder, you can create professional-looking screen videos.

Fernando Gregory, 123RF.com
Screencasts are ideal for online presentations and demonstrating a particular desktop function. With SimpleScreenRecorder, you can create professional-looking screen videos.
If a picture is worth a thousand words, a video is even better. That's why the trend for developers to explain how their apps work with video demonstrations has exploded in the past few years. YouTube and other websites allow distribution of such videos with minimal effort. These desktop presentations, or screencasts, can help users master many tricky situations.
Suppose you have discovered a particularly clever function in LibreOffice; you can share it with your friends and colleagues as a screencast. If you want to put a video presentation online, you can record it with an audio track and make it into a screencast. Many screencast programs even provide camera support and let you create "videos within videos" for your presentation.
Linux already has several tools for creating screencasts that you can use without spending a single dollar. The SimpleScreenRecorder (SSR) program from Maarten Baert [1] is a perfect example (see the "Installing SSR" box). In a jiffy, you can produce attractive screencasts without missing any of the features available in commercial alternatives.
Installing SSR
SSR is already available in package form for a variety of distributions and can be installed on Ubuntu easily. You can find packages of the program in the author's Ubuntu PPA and integrate them using these commands:
$ sudo add-apt-repository ppa:maarten-baert/simplescreenrecorder
$ sudo apt-get update
$ sudo apt-get install simplescreenrecorder
The configuration wizard (Figure 1) lets you set up SSR to fit your local environment. From the start, the tool has a professional feel. You begin by setting up your preferences using profiles that you later apply to your videos with a mouse click.
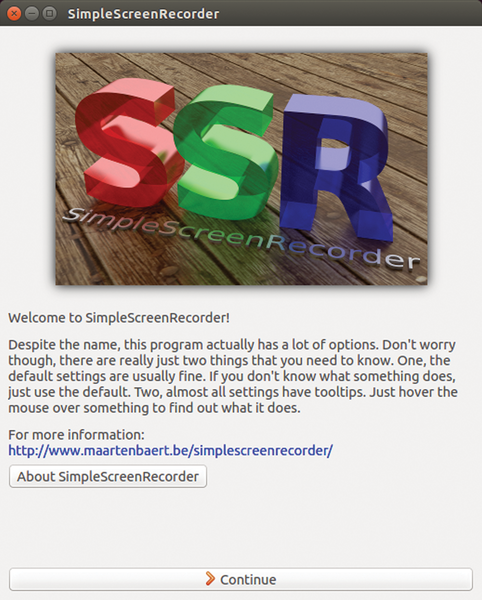 Figure 1: SSR greets you with a wizard for making the initial vital settings. It allows you to create profiles that you will reuse later on.
If you have a quick video for YouTube in mind, a lower resolution may be the ticket, with full HD reserved for a more comprehensive presentation.
Ideally, you begin working with SSR by creating a new standard profile. Click New and provide a name for it, then determine if you want to record the entire screen or just a part of it. Choose the Record a fixed rectangle option and lay out the size of the image.
Fixed rectangle mode has the advantage that you can have other windows open outside the selected region that won't appear in the video. If you have dual screens, however, recording the entire screen often proves a better choice. You then only need to set the resolution and which screen to use in SSR.
SSR can also record audio input so that you can narrate the screencast. For this, select the sound card in the Audio input in the wizard dialog. All major distributions now use PulseAudio. For the Source , set the audio source that SSR should use.
If you record screencasts on a regular basis, purchasing a separate microphone is recommended for the purpose. The laptop mics that come on modern laptops are perfect for Skype calls but are lacking when it comes to quality recording. Additionally, the microphones are often located so close to the keyboard that they pick up typing sounds – and you really can't avoid typing when doing video how-tos.
On a desktop computer or advanced notebook, it's best to use a headset with a 3.5mm jack – you don't need a separate driver for it. Manufacturers typically don't include mic jacks with laptops and particularly ultrabooks, so a USB headset it is.
Here again, you'll find a wide range in the market. Devices from the larger manufacturers would usually suffice, but an Internet search wouldn't hurt if you already have a device in mind. You can usually find out quickly whether a device works with Linux.
You'll definitely be rewarded with a much improved recording quality if you purchase a separate microphone. Also, you should take advantage of a room without annoying background noise if you can, and the quality of your audio will be much better.
The next wizard dialog asks for the codec details for the screencast (Figure 2). You can also select from various predefined profiles. The better the predefined quality, the better the results.
 Figure 2: You can set the video format choosing from a variety of video and audio parameters. The higher the quality, the larger the files.
Naturally, there's a hitch: The better the video quality, the larger the corresponding file, which can be a pain when trying to upload the final film. Try experimenting with the profiles to get the best balance of quality and file size.
Clicking Continue at this point will bring you to the program's main window. SSR opens the dialog with the three question windows with every startup, which is why using profiles can save you a lot of mouse clicks.
The main SSR window (Figure 3) is rather unpretentious, but it includes all the functions you need for a successful screencast. At the top is the Record button that applies all your configuration parameters to the recording. At the bottom edge of the window are the buttons for stopping and saving the recording. Clicking Cancel recording removes the recording, and Save recording saves it on your hard drive.
 Figure 3: The main SimpleScreenRecorder window before a recording. When you're finished with the video, the program simply saves the file in the specified location.
During the recording, you'll see a preview of the captured video in the middle of the screen. You also get a frames-per-second (FPS) status, which is a good video quality indicator. Don't be surprised if the FPS occasionally drops during the recording; it usually means that a graphics-intensive tool is weighing down the graphics chip.
Using the checkboxes under the Start recording button, you can set the recording hotkeys for key combinations to start and stop the recording without having to bring the SSR main window onto the screen and possibly the video. You can thereby conceal that you're even using a screencast program.
A common trick in desktop recordings is not only having your narrator heard but also seen. This gives the video a more personal touch and shows the viewer who they're dealing with (Figure 4).
 Figure 4: Record yourself along with your subject matter to make a more personalized and interesting screencast.
Such a picture-in-picture solution is far less complicated than you might think. All you need is a webcam together with a viewer such as Xawtv. You simply let the viewer window run somewhere on the desktop so that it blends in with the recorded image.
Be sure that the camera is the proper equipment. Notebook cameras are usually rigidly mounted and provide a rather unflattering "bottom up" camera angle. If you want a nicer image of yourself, consider getting a pivoting full HD camera.
To avoid distractions from your main focus, you should also avoid an overly flashy or colorful background and choose a monochromatic one instead. If you don't have a background screen, a simple bed sheet might do as well.
The Video4Linux system usually senses an attached camera automatically. Once you install xawtv, which virtually all major distributions provide, you have direct access to the webcam.
Select the webcam as the video source in the program and you'll instantly see the image on the webcam on your desktop. To make the video integration especially appealing, you have two options:
You can usually find both options in the title bar of the program window, often next to the controls for closing, minimizing, and maximizing the window.
You will typically encounter some bumps in your first attempts at desktop screencasting. For example, you'll inevitably garble your spoken explanation, and starting all over again may not be an option, depending on the length of your screencast.
For removing errors from your video, Linux does provide several helpful tools. With the Kdenlive [3] video editing program, for example (which all major distributions provide), you can make changes directly to the work that you've done with SSR.
Infos